
I’ve taken photos for years. First with film cameras and then the early 2000s digital cameras when they first started emerging. I was gifted my first “proper” camera on my 16th birthday – the 8MP Fujifilm S8000FD bridge camera – and over the next 5 years I snapped 120,000 images before upgrading to a Sony Cyber-Shot DSC-HX300 in 2014. I’ve taken thousands more photos since.
But what to do with these photos? A few dozen go into a nice calendar each year for my grandparents, my parents printed a few for the living room walls and we printed a bunch of animal photos for our own living room too. The rest felt like they never see the light of day.
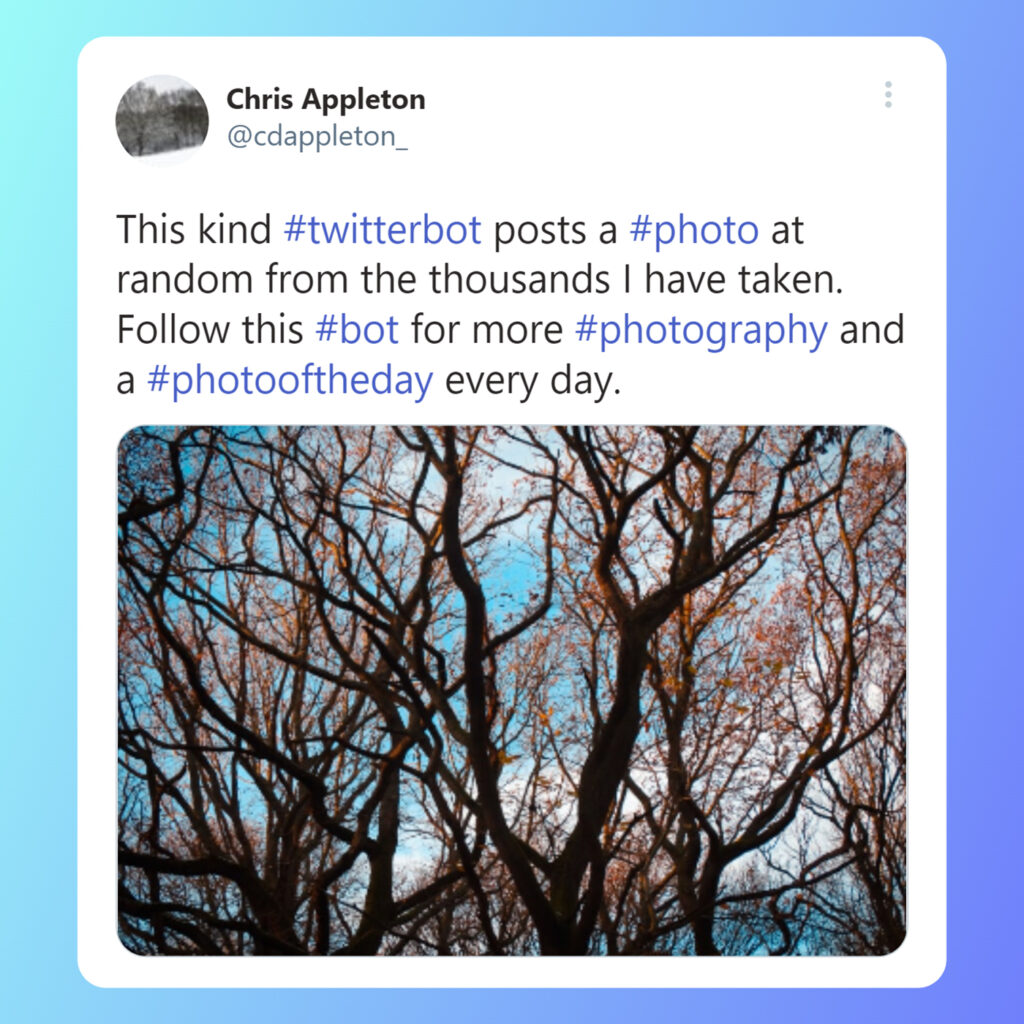
Want to skip to the end? You can visit and follow my Twitter bot here!
Pixels are cheap.
A random tourist in London
It’s true, pixels are cheap. No spending money on the film and the development, worried you’ll run out and pulling your shots. Once you own the camera and a couple of SD cards, that’s it, no real on-going cost. So it doesn’t matter taking 2 or 3 bracketing shots to get the best one, or fiddling with the settings, do what you like.
Although my enjoyment in photography lay predominantly with being somewhere worth being, I’m still proud of the photos I’ve taken and would like to see them more after the fact.
#photography #twitter
Not usually a huge social media person, I do enjoy Twitter. A couple of years ago I spent some time choosing the right people to follow to create a pocket of creators, artists, photographers and developers that were positive influences on my own interests. I also began following some random bots – @raccoonhourly and @RedPandaEveryHr – that posted an assortment of cute photos once an hour.
How hard can it be, right?
Well… Twitter updated their API at then of 2021 it turns out, so 95% resources when I started out making mine in May 2022 were massively out of date. With the introduction of uploading multiple images to a post, alternative text and a crack-down on misuse, you now require elevated API v2 permissions to perform certain actions (although these are not difficult to apply for). The changes also altered the methods for uploading media content, so documentation was really lacking.
And all that was before Twitter was brought by Elon, and he’s not a big fan of bots and is a big fan of monetisation!
Twitter Developer Platform
First step is to simply have an owner’s account, which will bear the responsibility for the bot and appear on the bot’s profile page. I’ve just used my normal personal account for this. Second is to create the bot’s account, which is the same as a normal account at first.
🤖 Twitter “automated” label for bots
From the bot account, going into Settings > Account Information > Automation allows an owner account to be added by entering it’s handle and following the straightforward on-screen instructions. The bot account gets an automated label shortly after, as well as a link to the owner’s account for transparency.
🔐 Elevated permissions
In order to post on Twitter, an API v2 account is required but the free tier introduced in April 2023 still allows 1,500 tweets, so more than enough for a one-a-day bot!
Go to the Twitter Developer Platform and log in with the bot account. There’s a few forms to fill out initially, then upgrading to the (free) API v2 and finally creating a new project with Read and Write permissions to generate the API keys.
Make a note of these keys as they are created in a notepad file, as they will be vital in a moment and you can’t view them again without regenerating!
api key - 25 characters
api secret key - 50 characters
access token - 50 characters
access token secret - 45 characters
Python
A language I’ve never used before, I had no idea what I was doing at first. But as with all projects, some research and a clear list of objectives to solve one-by-one is all that’s required.
The objectives are to:
- choose a random file from a folder
- upload and tweet the file
- hard code the text of the tweet
- schedule the bot for the same time each day
- delete the image to prevent repetition
Install requirements:
- tweepy
- random (default)
- os (default)
🐍 Bot brains step-by-step
First things first, importing the default os and random libraries, then tweepy which will be installed later when setting up the hosting.
import os, random, tweepyThe following code navigates to the folder, either locally or, in this case, within the file hosting area. It then uses random to choose a file and assigns this to variable a, making an img variable from the folder and file combined. The print(a) is added so that in the PythonAnywhere log later on, I can see what file was used and deleted.
folder=r"PATH"
a=random.choice(os.listdir(folder))
print(a)
img = folder+a
Afterwards, four variables are created for both public and private, consumer and access tokens. These four keys are gained from the elevated permissions of a v2 account in the previous step and tweepy uses these to log in with read and write permissions.
api_key = "API_KEY"
api_secret = "API_SECRET"
access_token = "ACCESS_TOKEN"
access_token_secret = "ACCESS_TOKEN_SECRET"

auth = tweepy.OAuthHandler(api_key, api_secret)
auth.set_access_token(access_token, access_token_secret)

api = tweepy.API(auth)
Then, the variable tweet is a string of hardcoded text that will form the body of the tweet itself, up to 240 characters. This could be modified to pull from a text document or array of content, but I’ve chosen to keep the same text each time.
tweet = "HARD CODED TWEET"Finally, the image array pics is uploaded using media_upload which returns a media_id_string for each image followed by update_status which performs the tweet itself using the image id(s) and the hardcoded text. This is an array to be easily adjustable to upload and tweet multiple images.
pics = [img]
media_ids = [api.media_upload(i).media_id_string for i in pics]
status = api.update_status(media_ids = media_ids, status = tweet)
The script is then programmed to delete the file from the directory to prevent duplication on the feed.
👩💻 The full code
Ignoring comments and spacing, it only takes 17 lines of code to fulfil the objectives, and really a couple of them are more for my own benefit (like printing the image choice into a log). It also has some redundancy for easy conversion to allow multiple image uploads.
import os, random, tweepy

# input path to folder
folder=r"PATH"

# this will pick randomly from the folder and print in console what file was chosen
a=random.choice(os.listdir(folder))
print(a)
img = folder+a

# assign consumer keys and access tokens
api_key = "API_KEY"
api_secret = "API_SECRET"
access_token = "ACCESS_TOKEN"
access_token_secret = "ACCESS_TOKEN_SECRET"

# api
auth = tweepy.OAuthHandler(api_key, api_secret)
auth.set_access_token(access_token, access_token_secret)

# create API obj
api = tweepy.API(auth)

# create tweet text - this is hardcoded to be the same all the time
tweet = "HARD CODED TWEET"

# upload the image to twitter and receive the media_id string to parse into the next step
# this can be modified to upload multiple images recursively if more img are chosen earlier
pics = [img]
media_ids = [api.media_upload(i).media_id_string for i in pics]

# tweet the tweet on twitter
status = api.update_status(media_ids = media_ids, status = tweet)

# delete photo that was chosen after use to prevent duplication
os.remove(img)
Hosting
I’ve used PythonAnywhere to host the python script, compressed images for posting and scheduling. This process wasn’t too tricky, but requires using the CLI and Bash script to install tweepy and file upload is either one at a time or uploading a zip then inflating it and moving the files using Bash.
From the Dashboard, go to Files and create a sensible directory structure within the username folder; I created a folder called twitter-bot and, within that, images. Open a console here and pip install tweepy. Once tweepy is installed, create a file or upload the script, making note of its name for when scheduling later.
pip install tweepyWithin the script, enter the path to images (for example /home/USERNAME/twitter-bot/images/) and the four API keys, as well as entering the tweet text.
Upload a zip folder of prepared images to the images directory using the Files manager, and open a Bash console here. The CLI should read ~/twitter-bot/images $. Run the command unzip ZIPFOLDERNAME, which inflates the zip into a new directory with the same name. If it’s working, you’ll see the files as it unzips.
~/twitter-bot/images $ unzip ZIPFOLDERNAME

Archive: ZIPFOLDERNAME.zip
  inflating: ...
Now run the following command to move all these images from the new directory to the images directory:
mv ~/twitter-bot/images/ZIPFOLDERNAME/* ~/twitter-bot/imagesThe images should now have moved into the images directory, so both the zip and the now empty temporary directory can be deleted.
🕔 Scheduling
Back to the PythonAnywhere Dashboard, click Tasks. With a free account, one job can be scheduled once a day, perfect for this project. One other small limit is the expiry on a free plan is a maximum of 28 days, so requires extending once a month. Then again, uploading new pictures is going to be needed occasionally anyway too, so a few minutes of maintenance is a small price to pay!
The file path to put in the command is to the python script, so in my case:
/home/USERNAME/twitter-bot/CODEFILENAME.py
I’ve scheduled mine to run daily at 08:00 UTC and other than a day when Twitter changed its permissions plans, it has run perfectly.
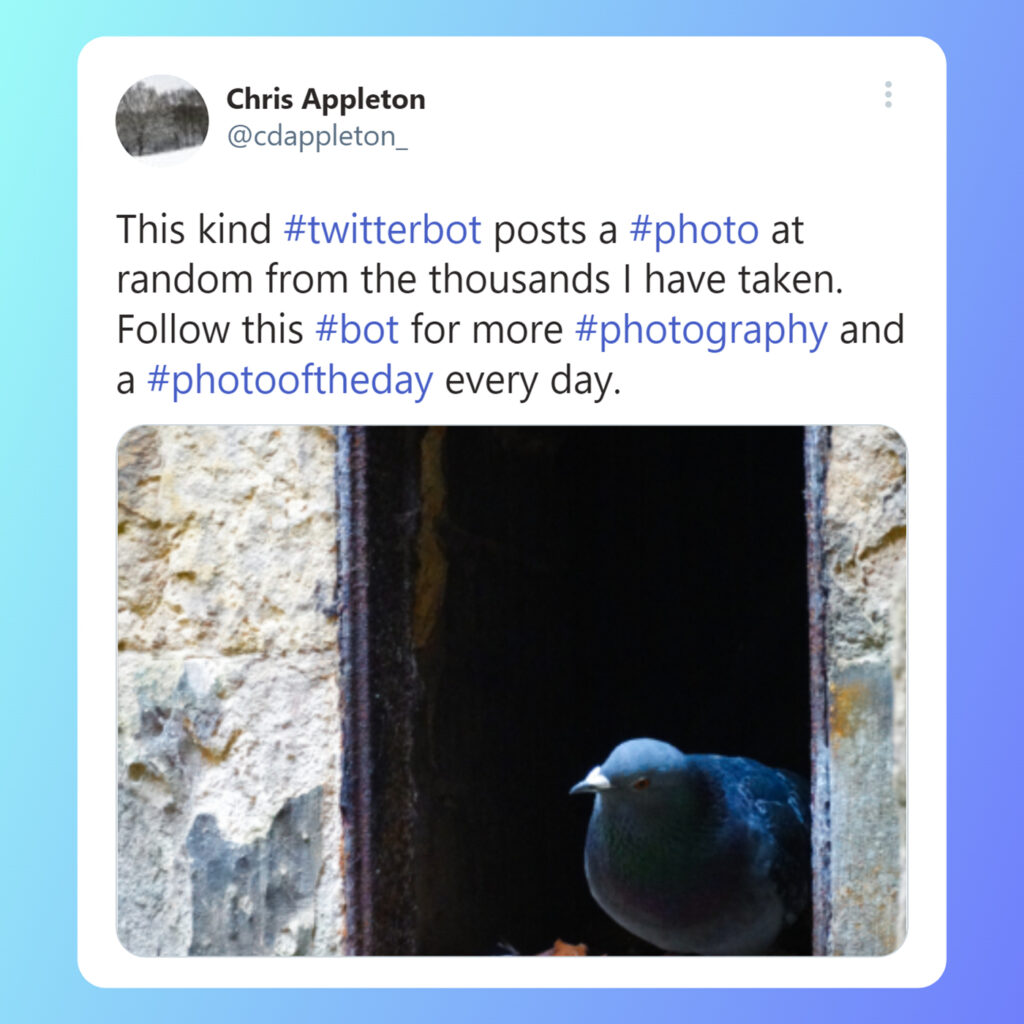
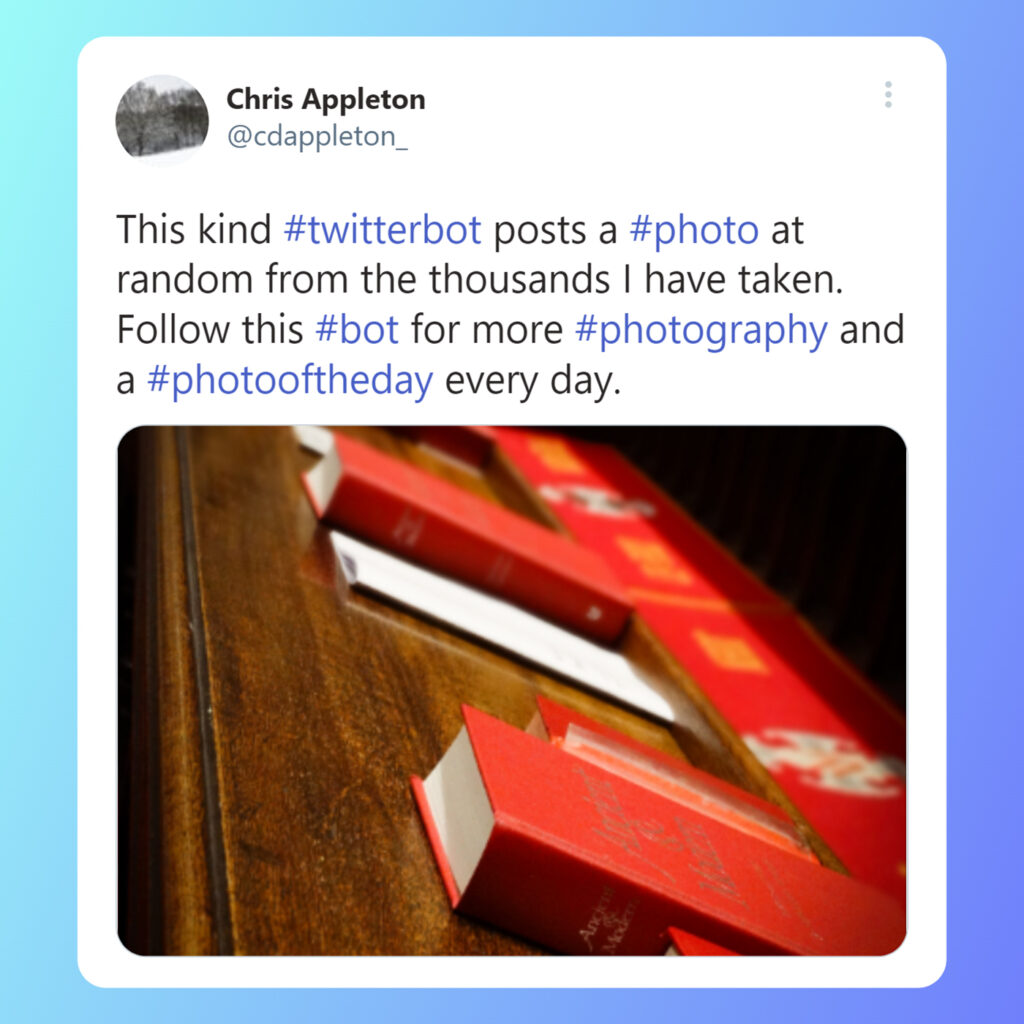
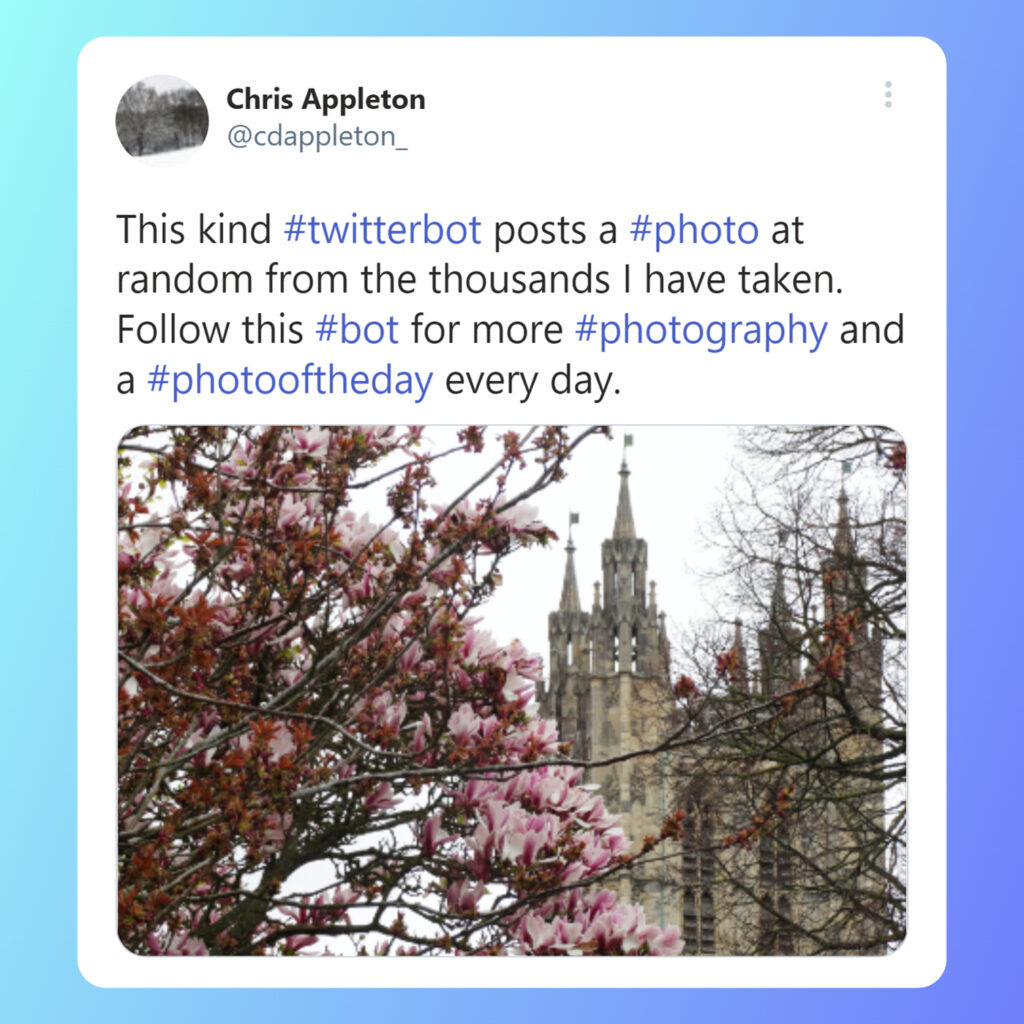
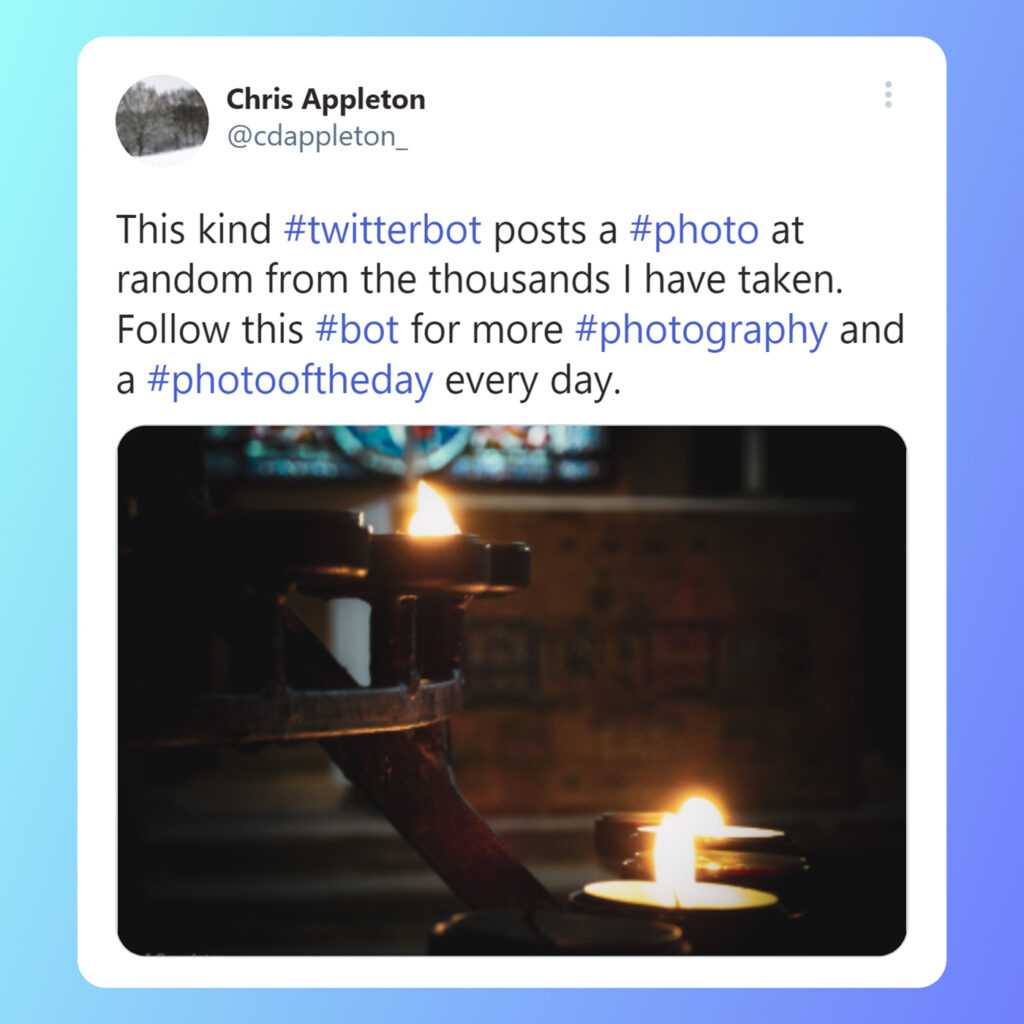
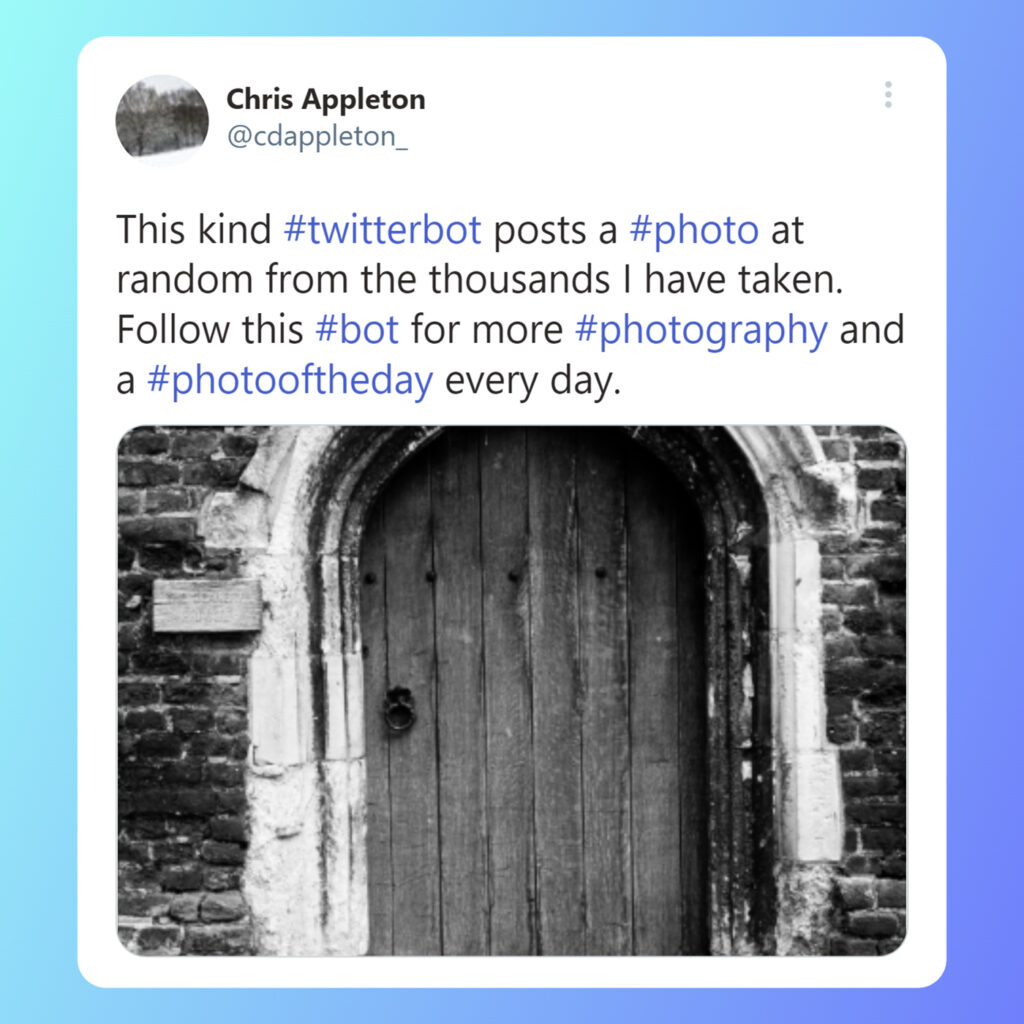
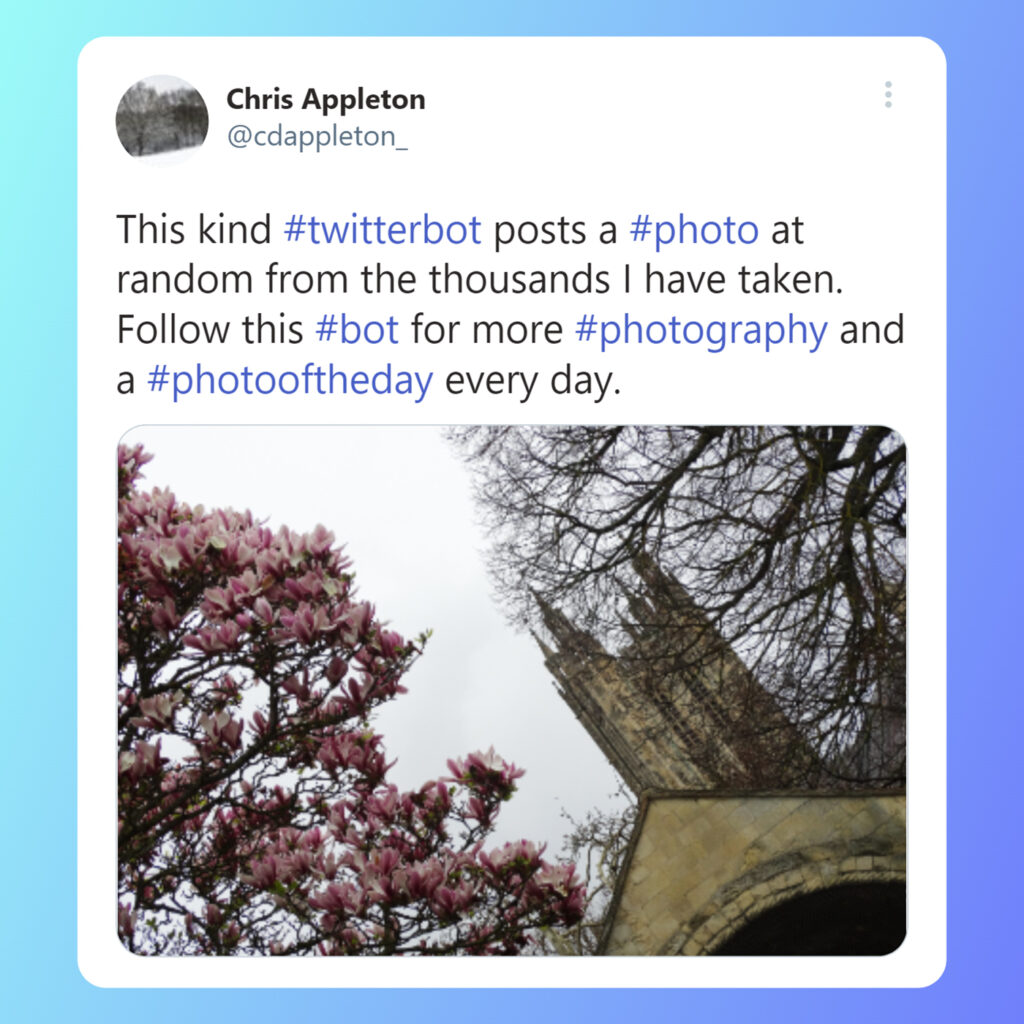
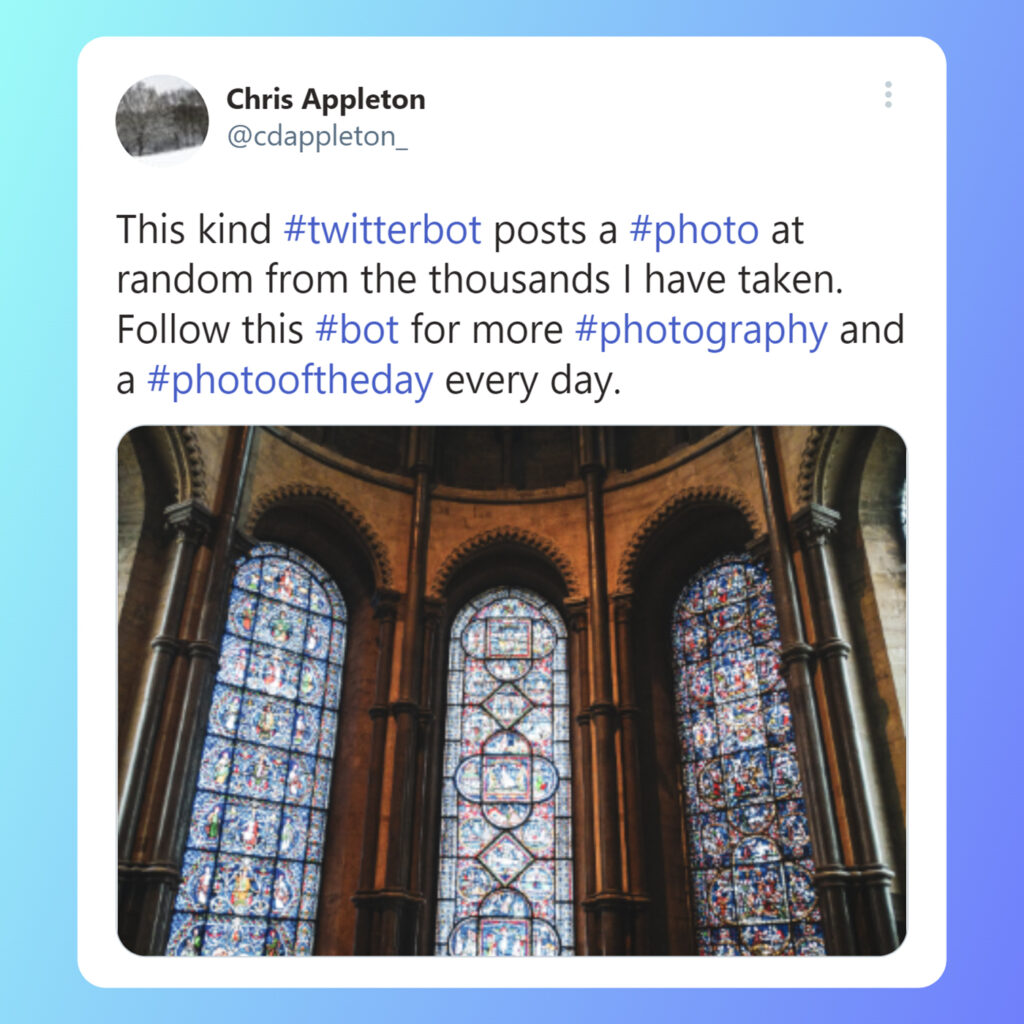
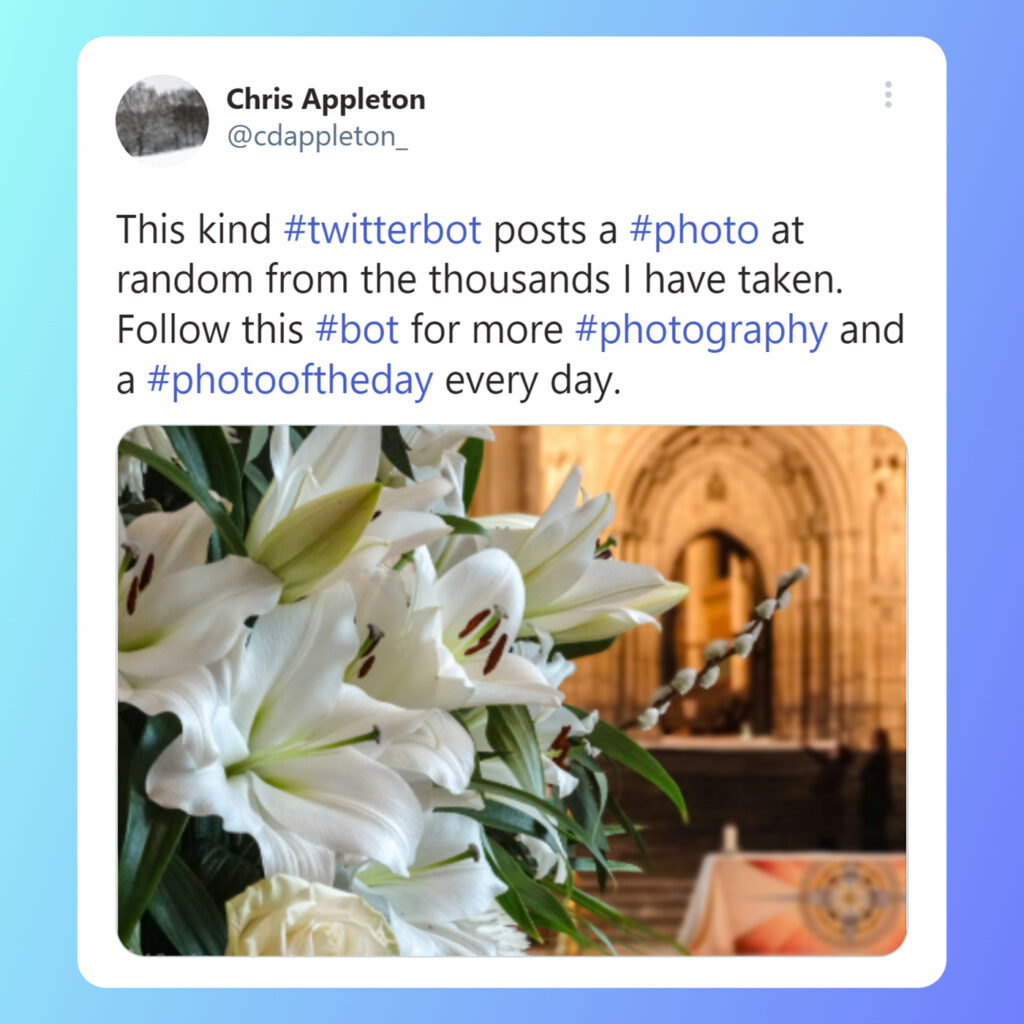
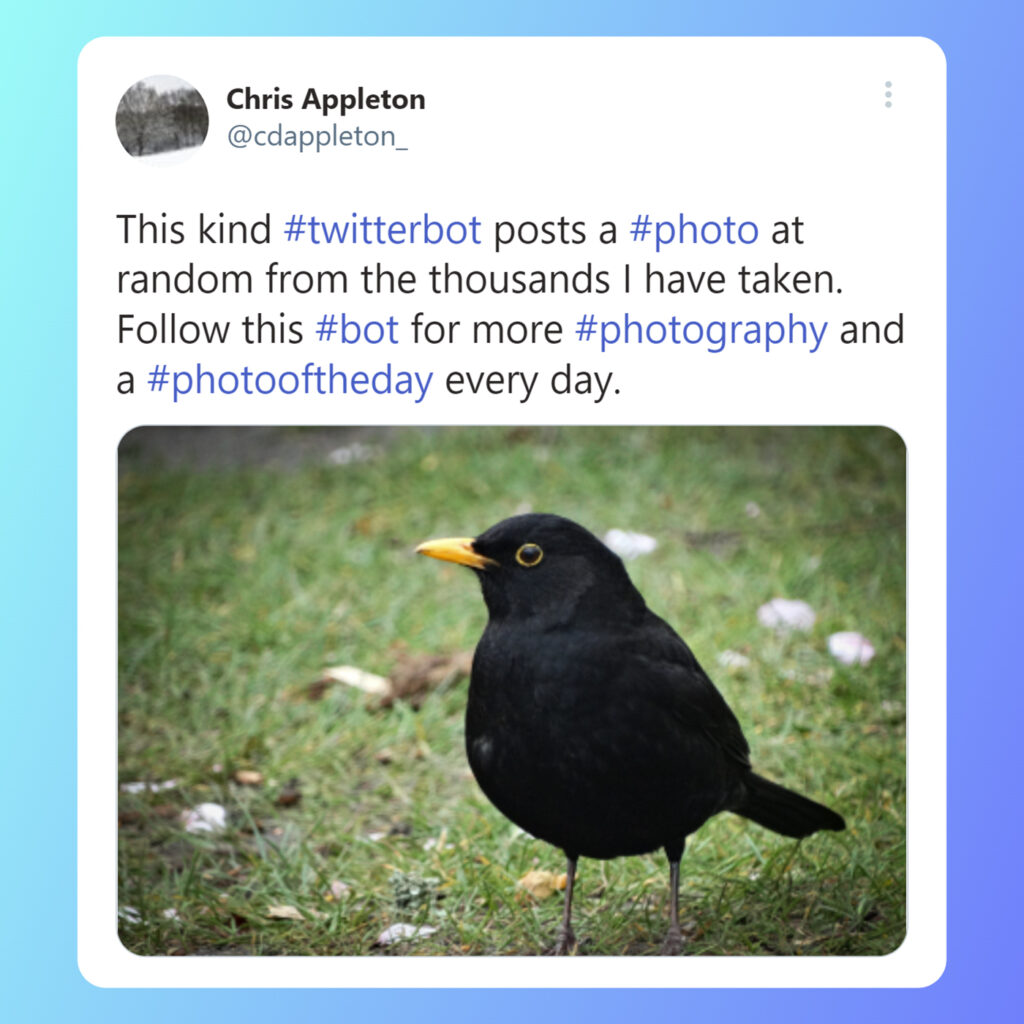
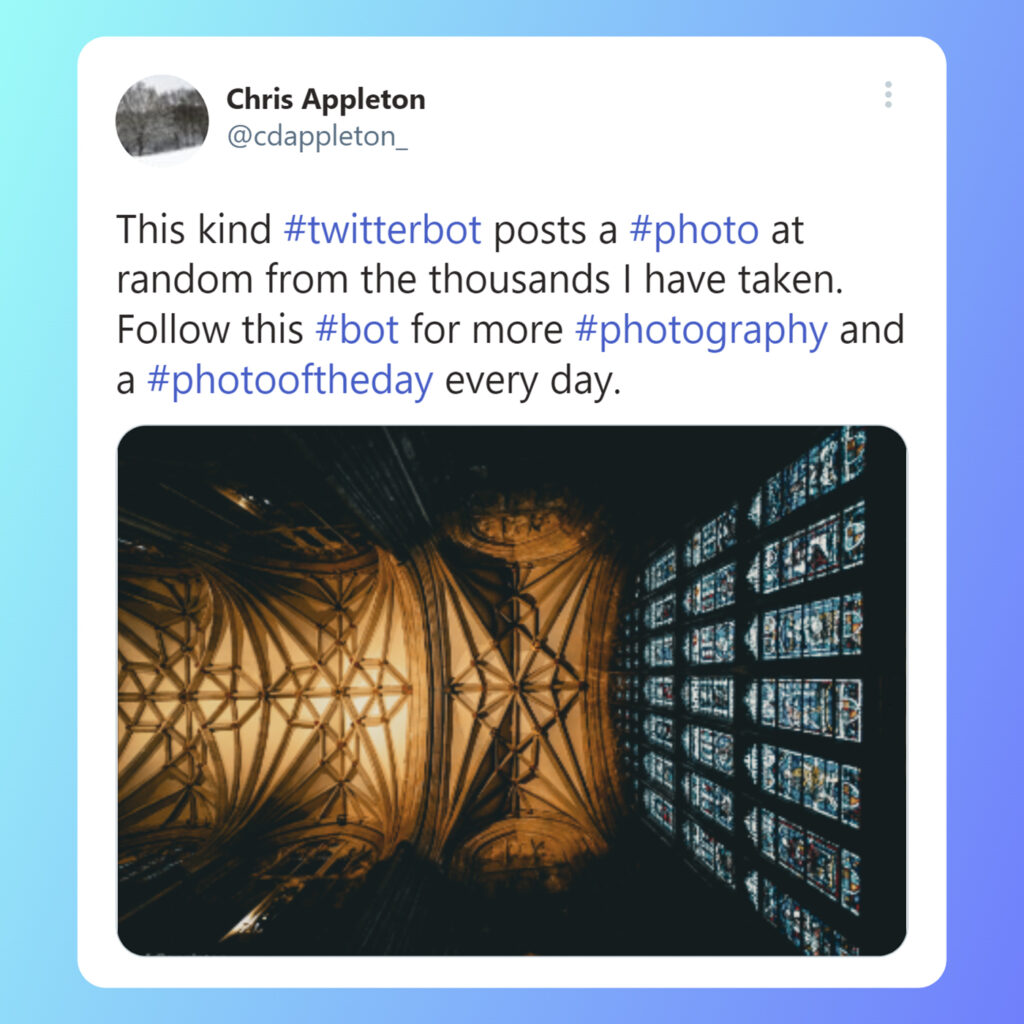
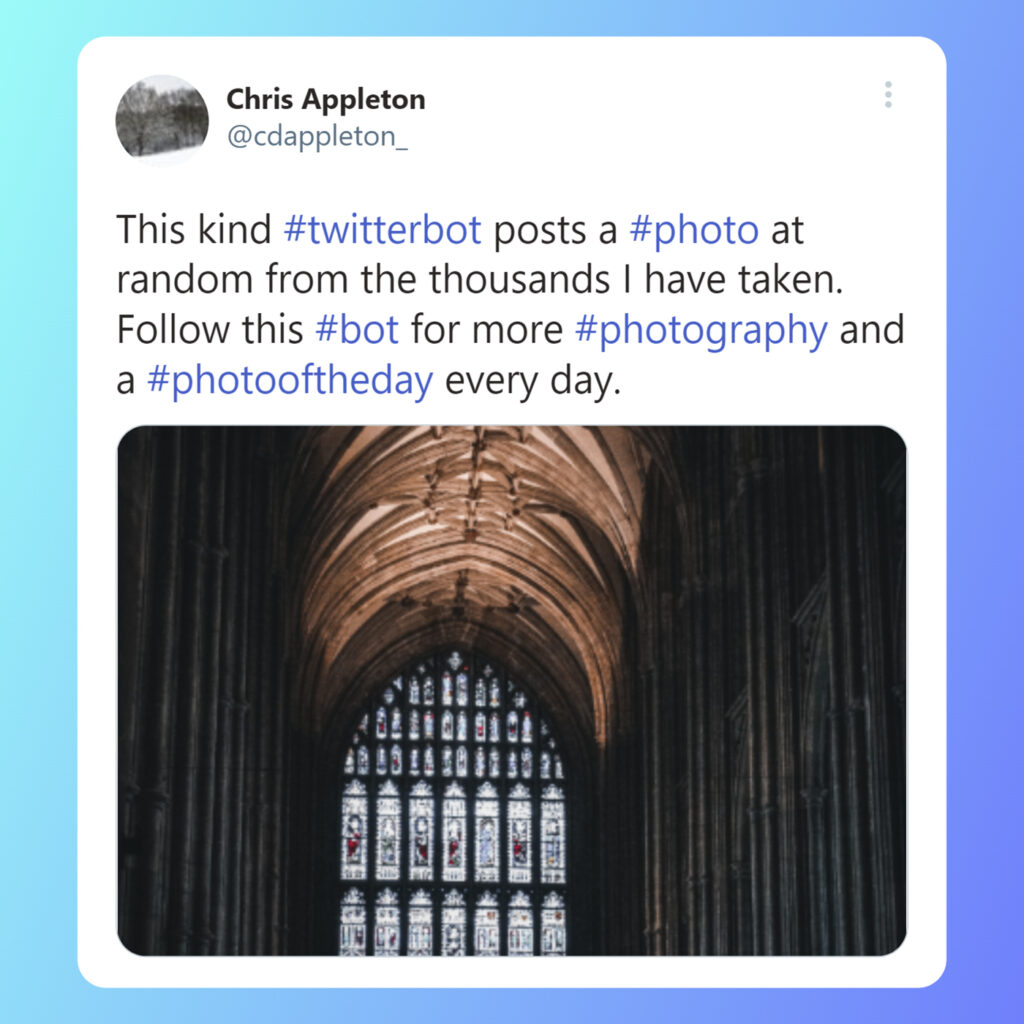
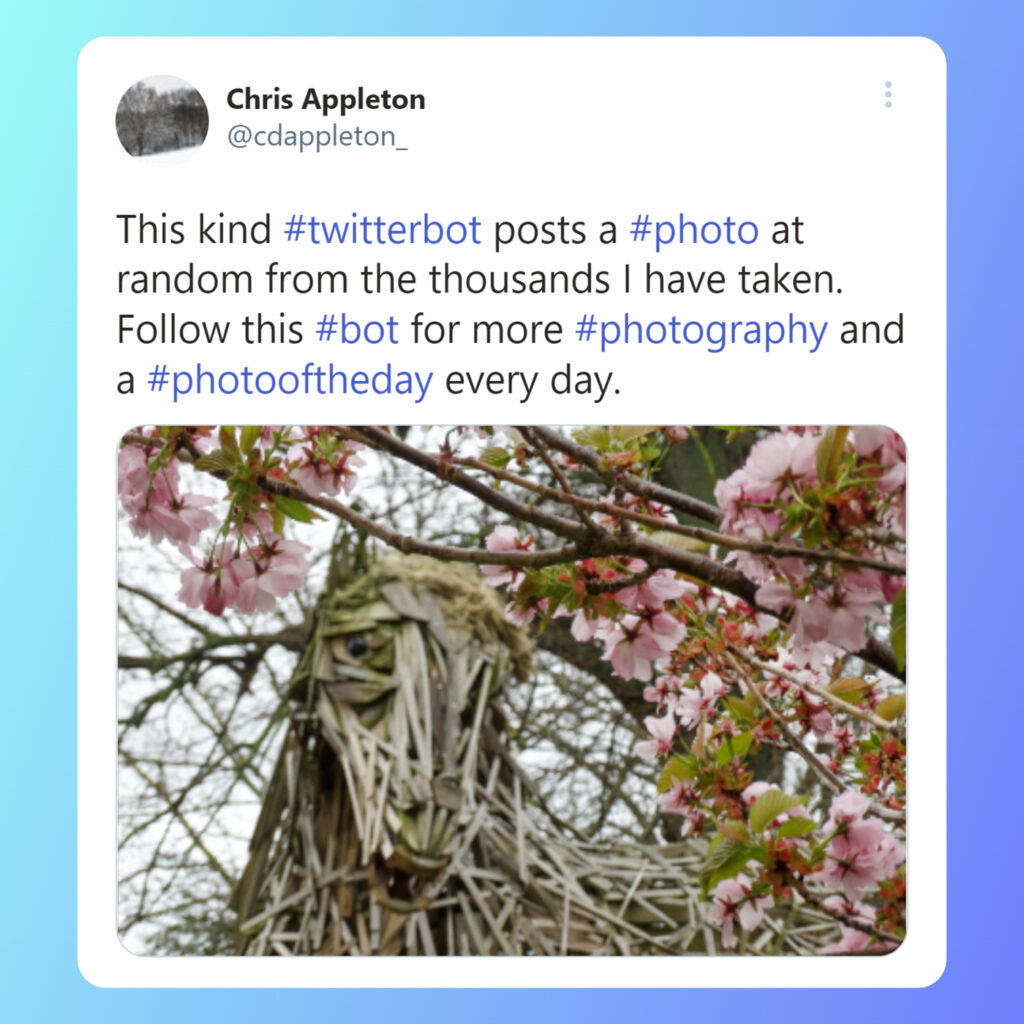
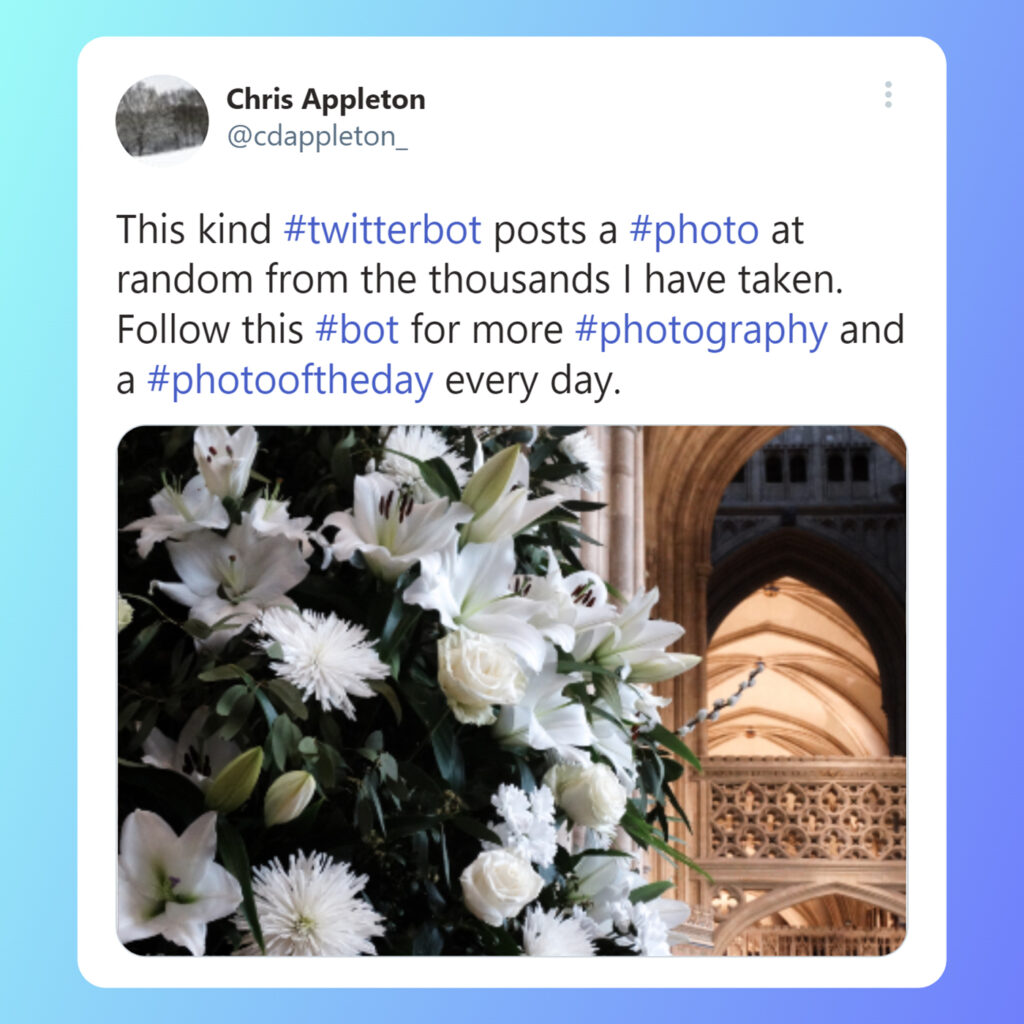
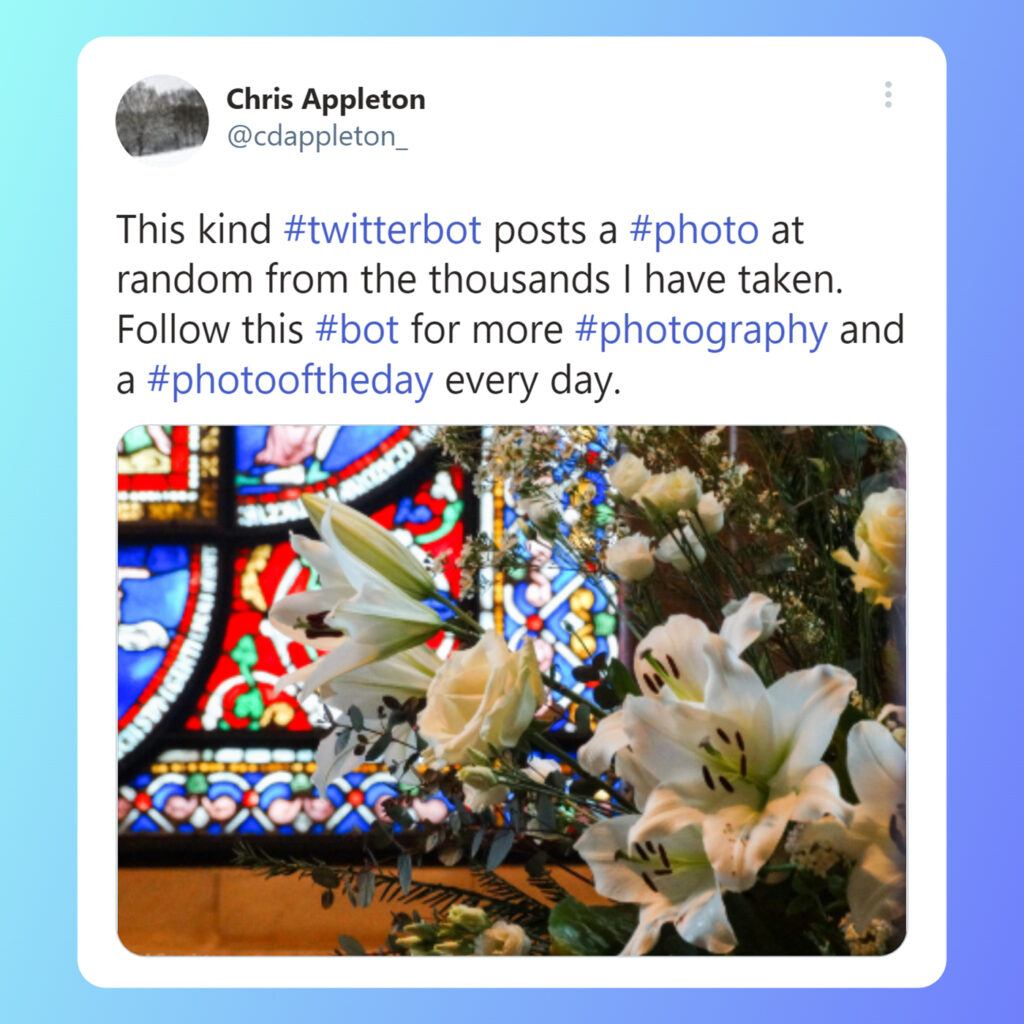
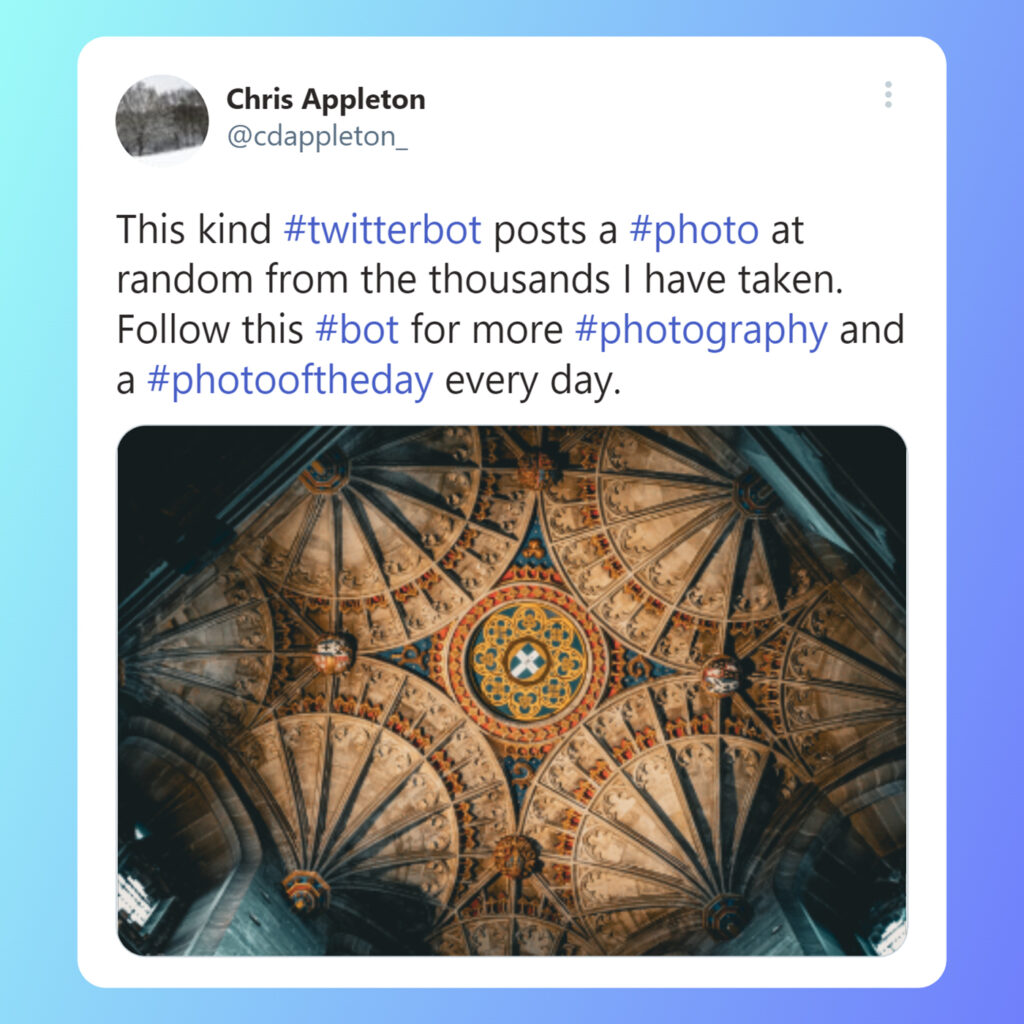
My Twitter Bot
Here’s some screenshots from the first couple of weeks of posting. My initial photos were from Canterbury Cathedral, but after this test period I’ve now uploaded many more photos from elsewhere into the mix and can continue to do so as and when.
You can visit and follow my Twitter bot here!
References
Below are some helpful resources, blogs, GitHub repositories and documentation that I found useful whilst building this bot – as well as quite a bit of trial and error!
- tweepy 4.14.0 documentation
- Tweepy for beginners
- PabloAndDaisyBot on GitHub
- twitterdailyboy on GitHub
- Twitter Developer Platform
- Twitter Launches “Automated” Label for Bots
- How to create a Twitter bot with Twitter API v2
- How to get your code in and out of PythonAnywhere
- Move All Files Including Hidden Files Into Parent Directory
- PythonAnywhere
- Python Delete File
- Bulk Resize Photos
- Website Planet: Online PNG/JPG Compression [suggested by Amanda]